The trees are plasma cut and templates aligned. |
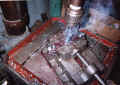
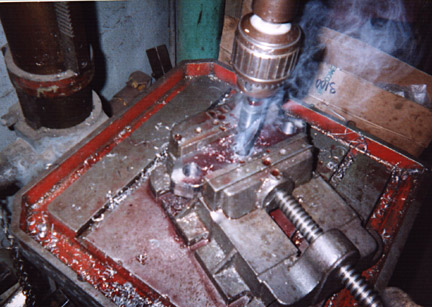
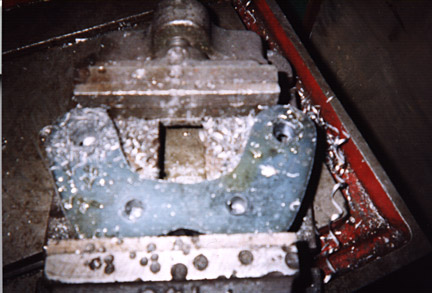
Drilling the heavy steel takes time. Accuracy is critical. |
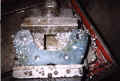
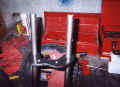
Starting to look like something. |

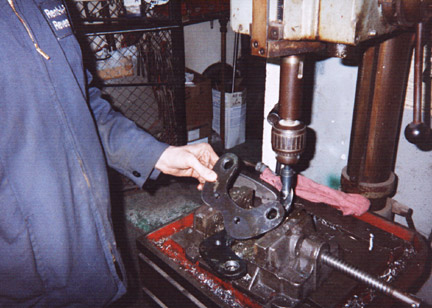
More drilling... |
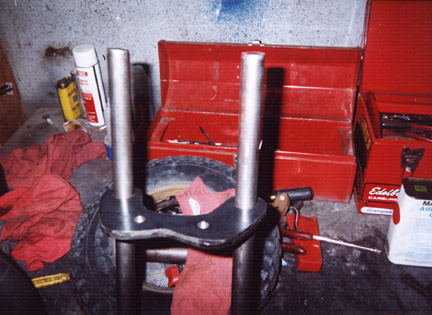
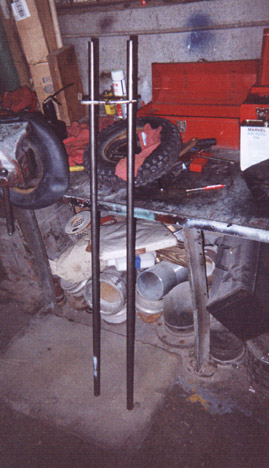
Test fitting with the 1 inch SOLID steel rear legs. |
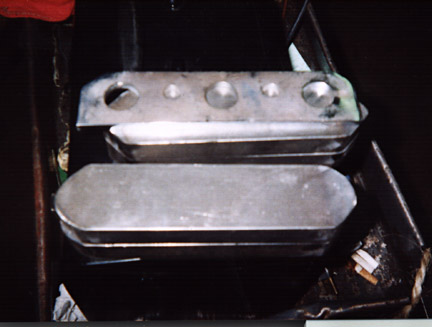
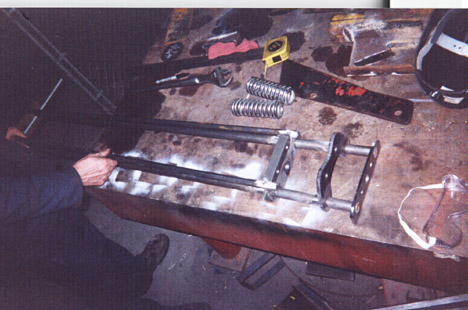
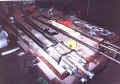
Laying it out on the bench. |

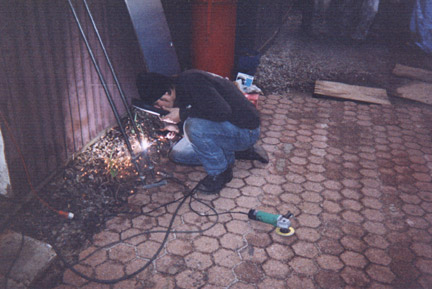
All joints are welded (not just pinned like some companies). |
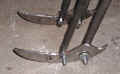
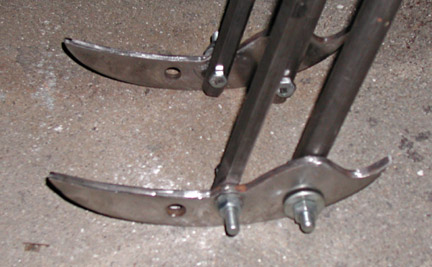
The custom rockers have the dagger look that the customer
wants |
Laying it out again. |
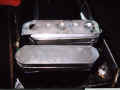
Custom
Springers |

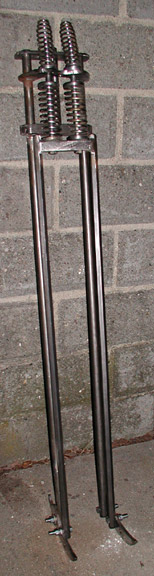
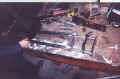
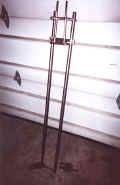
You can see the size of this one. Over 5 Feet long. |
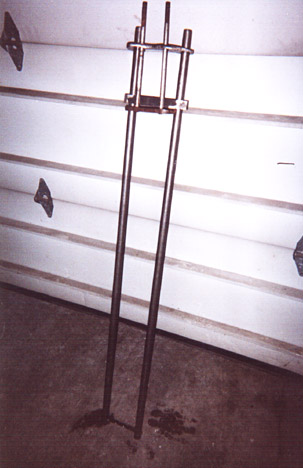
The rears are complete. |

Ready for chrome. The welds are clean and smooth. |
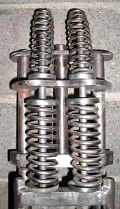
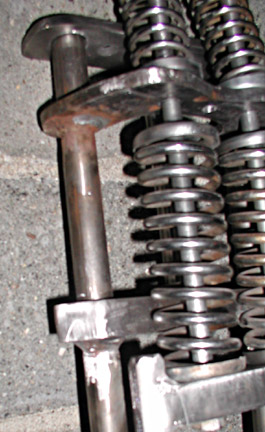
With the springs loosely in place you've got an idea of how
it will look. |
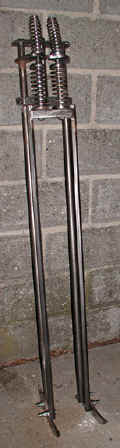
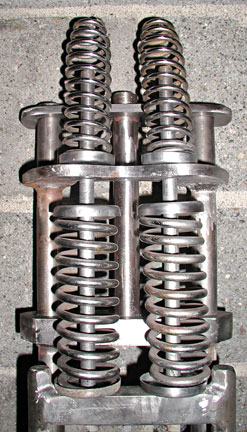
One last shot before heading to the chrome shop. |